 |
| Custom garter "Girly Girl" by Never a Plain Jane |
Scrap busting.
See, every sewing project results in hundreds of snippets, snaps, and scraps. I could figure I could fill a landfill all by myself with the amount of thread ends and tiny fabric bits I produce with each project.
 |
| photo via Craftaholics Anonymous |
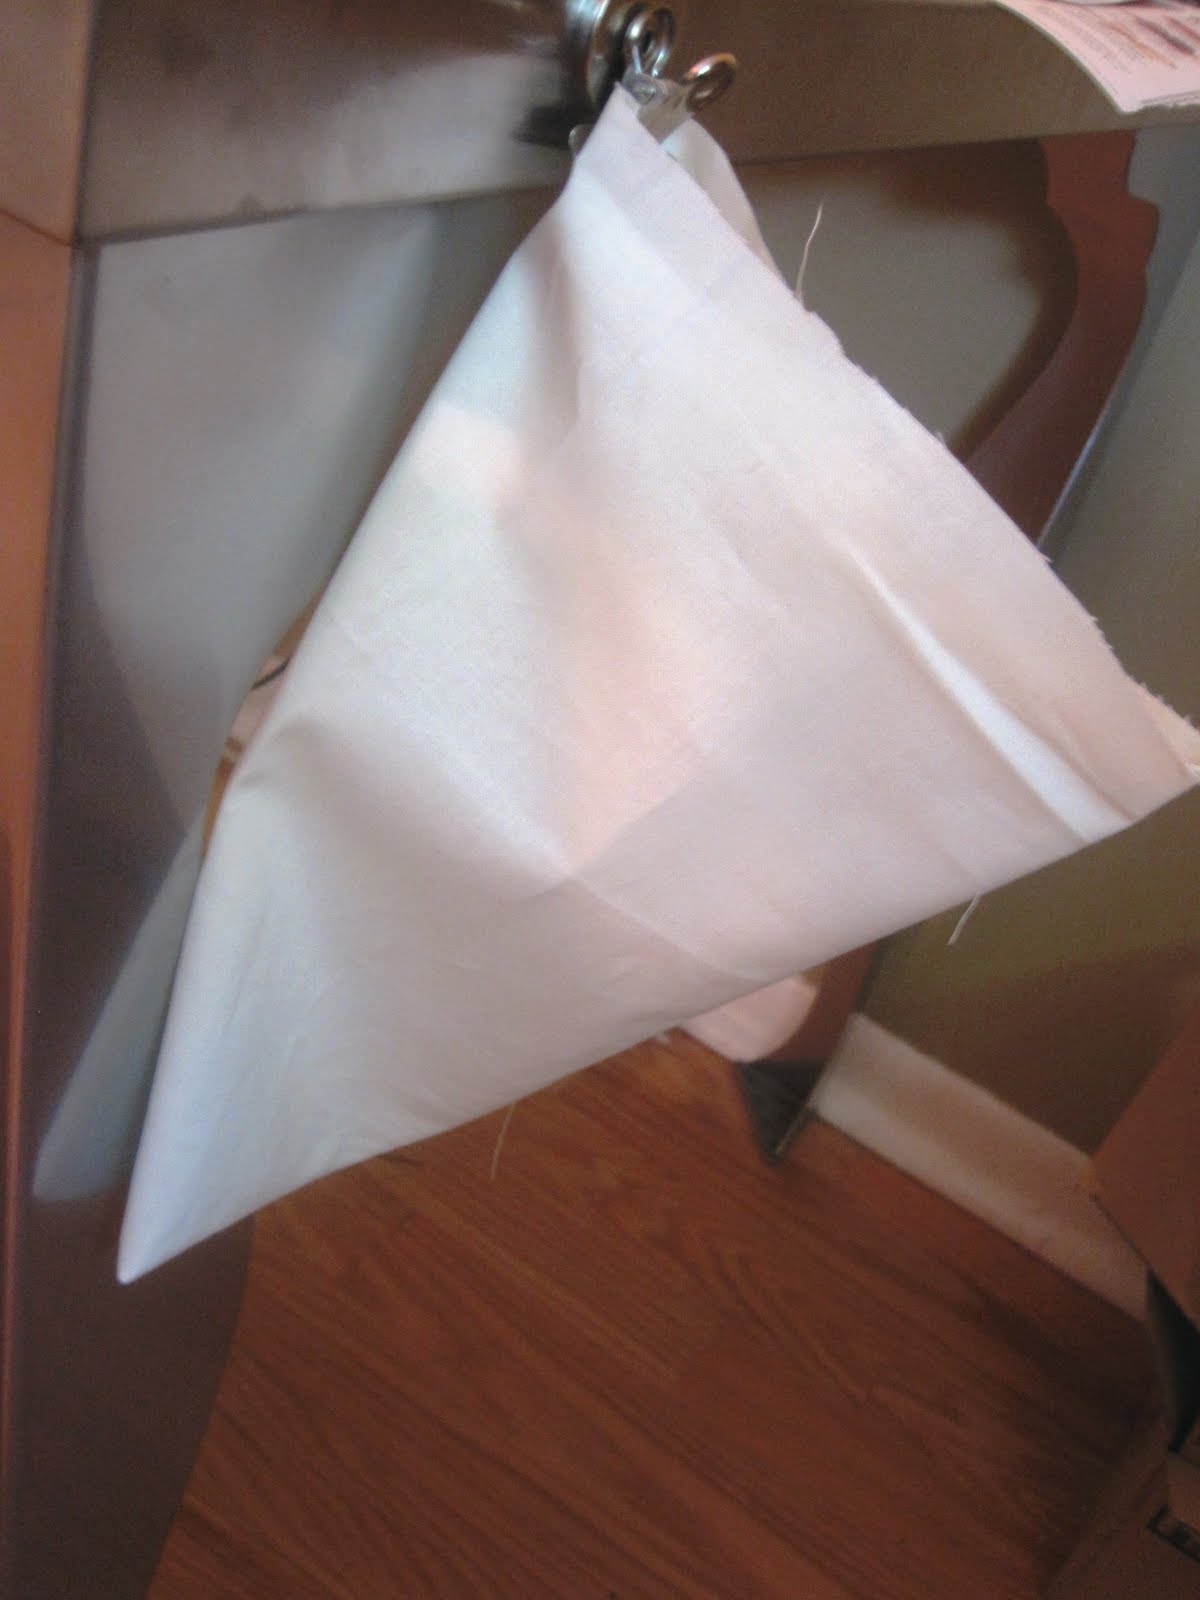
I typically use a piece of muslin because I can pick up a yard from the scrap bin at the fabric store for 50% off.

Step 1
Wash and iron your fabric. There is never ever ever a time when you will not clean your fabric before you start a project.
Step 2
Cut your fabric. I won't lie, I usually just cut a rectangle without measuring. I should hang my head in shame, I'm sure.
For now, I'll pretend I do measure. I usually want to end up with a pillow that is 11 inches by seven inches so I cut a rectangle that is 23 inches by eight inches.
Step 3
Fold the long side of your muslin in half so that you are looking at a 11.5 inch by eight inch rectangle.
Iron it to really establish the bottom fold.
I also turn down the top edge by about half an inch on each side and iron again. This will make it easier for you to close your pillow.
Now, using a straight stitch, run a seam from the bottom fold to the folded top edge on both of your raw edge sides.

See the folded down top edge in the photo above? Also, notice I clipped my corners. That'll help you get nice crisp corner when you turn your pillow-right side-out.

Step 4
Iron your seams. Then, turn your pillow right-side-out and iron again.
Step 5
Stuff your pillow.

Confession: I also put used dryer sheets in my pillows. Why not? They still smell good after their one use and they're clean.
Step 6
Is your pillow stuffed as full as you 'd like? Good. Let's sew that baby up.
Smush all your stuffing as far down into the pillow as you can and use a safety pin to keep it smushed down. This will make it oodles easier to run that last seam because the pin will keep all that bulk from getting in your way.

Your top edges should already be folded down so you shouldn't even have to pin. Just line the edges up and run a third straight stitch close to the edge.

If you wanted your end product to look a little more professional you could slip-stitch it closed and none of your seams would show. We'll save that for another day.
Step 7
For now, remove the safety pin, fluff your pillow and proudly display your garter!
 |
| Unique garter "The Navy Peacock" by Never a Plain Jane |
The End
No comments:
Post a Comment