
I'm really really proud of how they turned out. They're summery and chic, re-purposing them appeals to the tree-hugger in me, and they were virtually free.
would you like to know how to salvage an unwearable pair of your formerly favorite pants? Well, if you insist...
What you'll need:
- Pants to alter
- Iron and ironing board
- Scissors
- Straight Pins
- Thread
- Ruler
- Sewing Machine
What to do:
Unlike me, I suggest you decide how short you want to go before you whack half a leg off your britches. For some of you, the issue you are trying to fix will determine the length. Once you decide on a length, measure the amount you'll cut from the bottom on both the front and the back of each leg. Why both sides? Well, on some cuts the back is slightly longer to accommodate the curve of your bum. If you cut through both layers of fabric based on the front mark your new crops might end up looking shorter in the back. Heat up that iron and press everything.

Next, I turned my (cropped) pants and the cut-off portion of each leg inside out. I slid the pants inside the pant leg so that the two cut edges lined up. In the bottom photo you can see that the wrong side of the pants will be sewn to the right side of the detached leg.

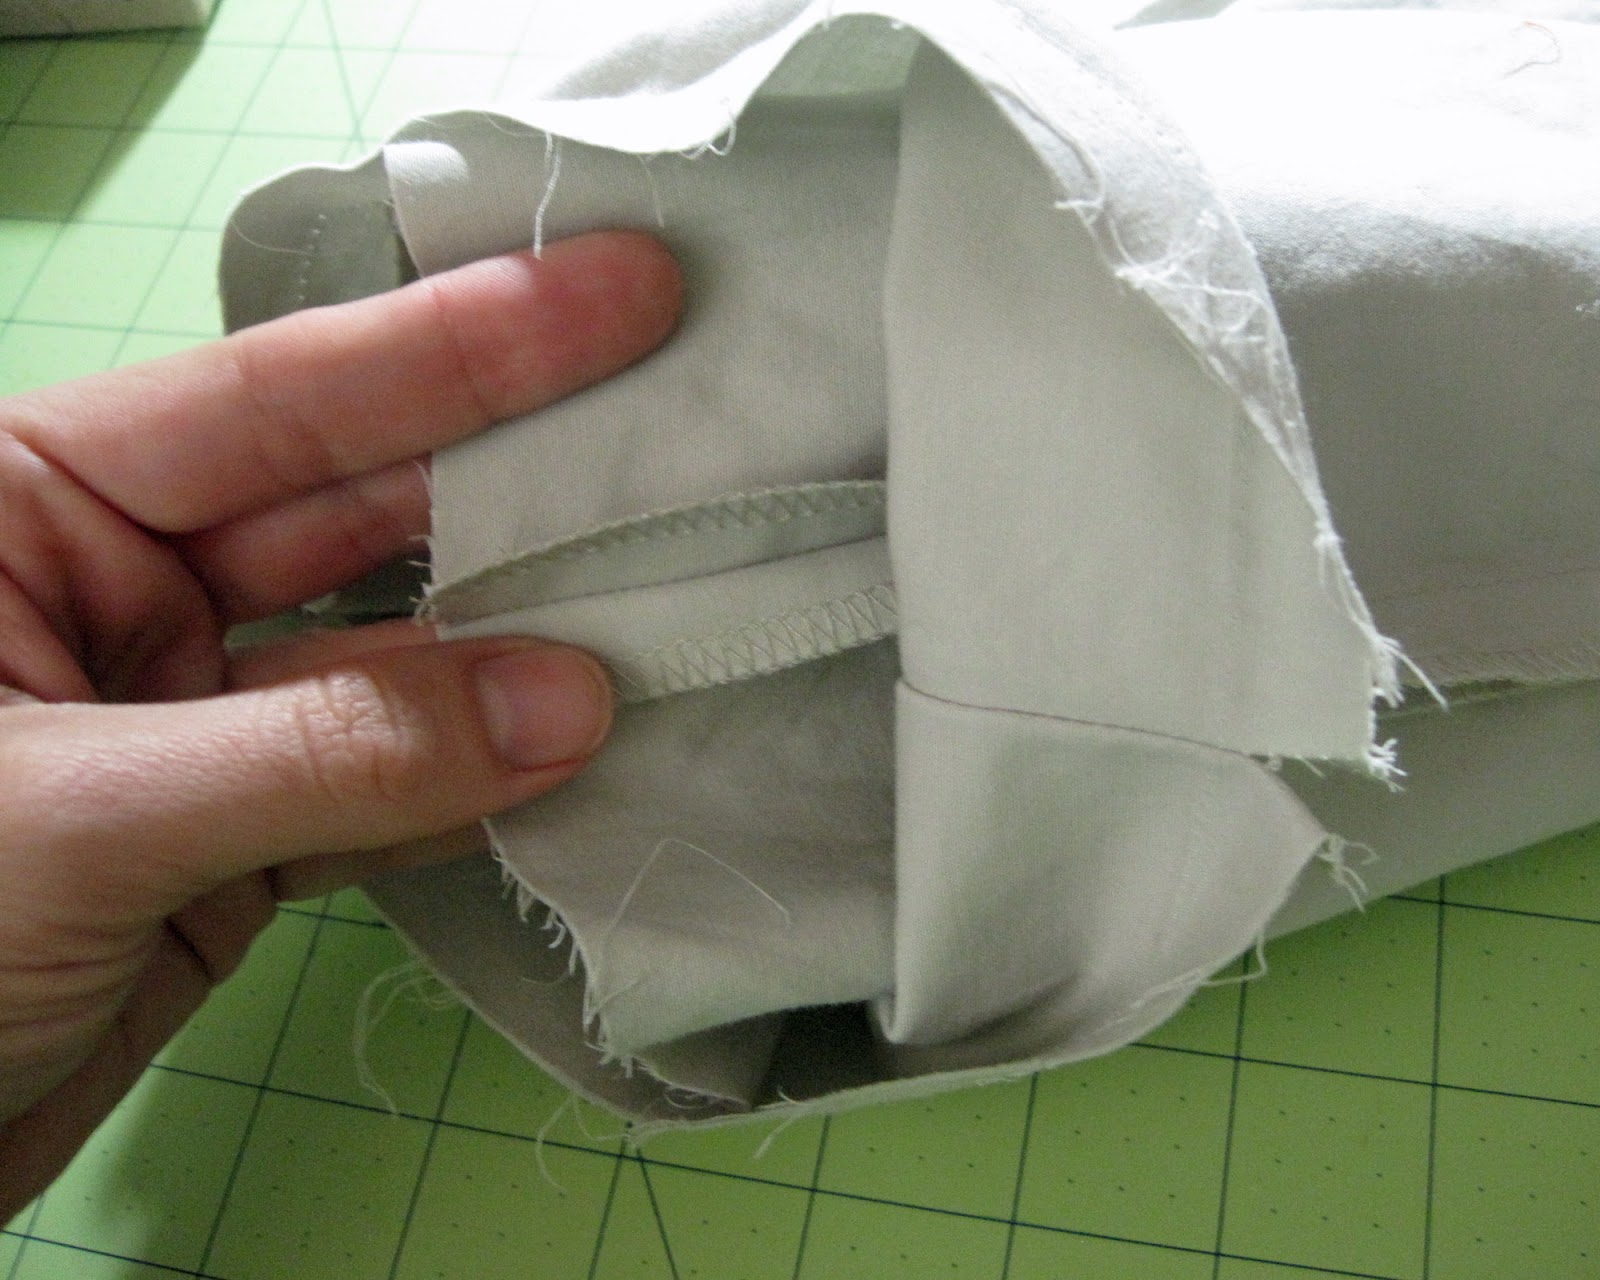
Those side seams really really need to stay lined up so I recommend pinning the heck out of that raw edge. then, using a straight stitch and 5/8" seam allowance, sew all the way around the bottom of your pant leg. Press the stitches to help set them.
Turn your pants right side out. You'll see that you've basically reattached the leg you just removed, except now it is inside out. Go ahead and press your seam allowances down.

Now we decide how large to make the cuff. I like a wide cuff which is good because, based on the location my original cut, I needed a cuff to cover that black goo stain. To be exact, I needed at least an inch and a half.

Armed with your cuff measurements, cut the inside-out pant leg twice as long as your finished cuff. To get to one-and-a-half inches I needed four inches of fabric; three to make the cuff and one to make sure my fold overlapped the seam where my leg parts were sewn together.
If you went into this project knowing how long you wanted your pants and the depth of your cuff you may have cut everything to length already. I'm sure your well-planned pants will look lovely, but the journey will be much less of an adventure compared to my trial-and-error process.
You are all very clever so I'm sure you know making cuffs will require fabric to be folded on top of itself. However, I soon realized that those side seams we lined up so carefully will quickly become bulky. To avoid issues later I recommend trimming the visible seam allowances on the lower portion of your pant leg.

Once you've cut the legs to the desired length, fold (or cuff) each leg so that the crease is at the final length for your new crops. You should now only be able to see the right side of your pant leg pieces. Press those babies.


We're almost there, Internet. Measuring from the bottom of the pant leg, find the place you'll fold to make the top part of the cuff. Measure, fold, and press your way around each pant leg.

Once you have a nice, even cuff pressed into place, pin that baby down!

I only used about an eight of an inch seam allowance from the top of the cuff when I sewed it into place.

Finally, press those babies and slip 'em on!


Ta da!
Okay, I lied. I actually did a little something more, but you'll have to wait until Friday to find out the how and what.
While you wait, though, why don't you tell me what sort of homemade nonsense are you getting into this summer?


